React Learning Journey - Part 1 - Basic App


Creating an application from scratch is exciting. I delved into full-stack development before when I created a Ruby on Rails application, but I wanted to try one of the popular JavaScript frameworks. React is as popular as they get right now.
If you are a beginner and would like to start your own learning path or follow along with this post, here are all the resources I used. All free.
- React
- Node/Express
- Axios
- Material-UI
- PERN
I had already created an application using the MERN (MongoDB, Express, React, Node) stack but I didn't properly document my process. It was also an ambitious project diving into advanced topics too quickly. So I thought to start again with a simple application developed through multiple stages.
This time, I wanted to work with Postgres, Express, React, and Node (PERN). All very common technologies. Using the PERN stack YouTube course above, I built a todo application that allows you to:
- Add todo
- See all todos
- Edit todo
- Delete todo
I followed the video with some updates of my own:
- Used Axios to make API calls. It's very popular and pretty much standard in the industry.
- Used Material-UI instead of Bootstrap. I already had experience with Bootstrap so I wanted to try something new.
Here's a link to my repo on Github if you'd like to follow along.
Building the todo app
Database and server
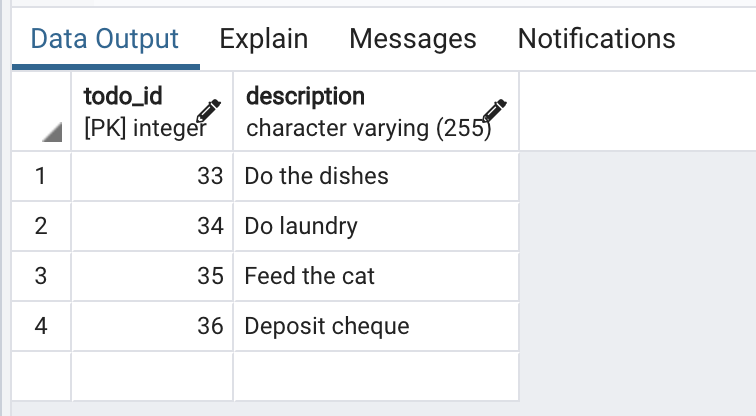
I began by installing Postgres and setting up a "perntodo" database with a "todo" table. The table contained a "todo_id" column and a "description" column.
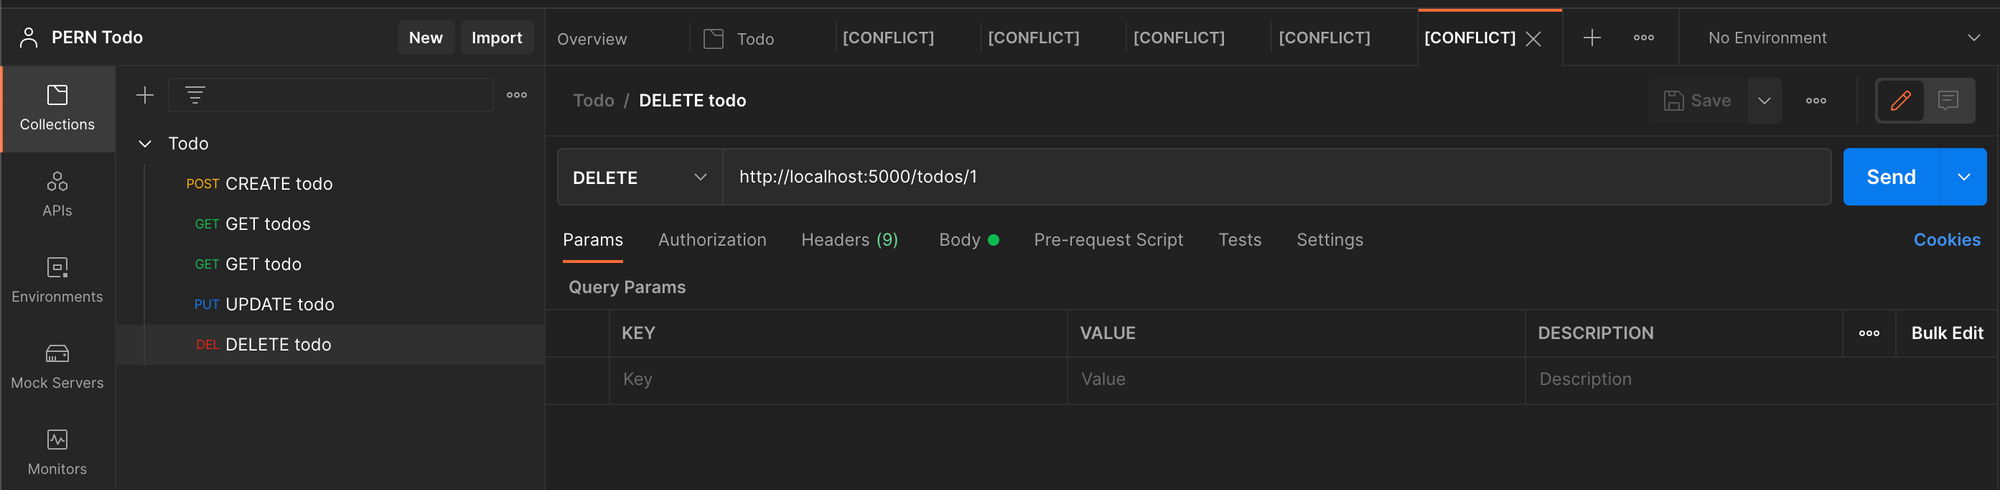
I then implemented an Express server and added POST, GET, PUT, and DELETE routes for todos. I tested all the routes using Postman.
It was all smooth sailing for this part of the project. With the database and back-end complete, I moved on to the client (front-end).
Client
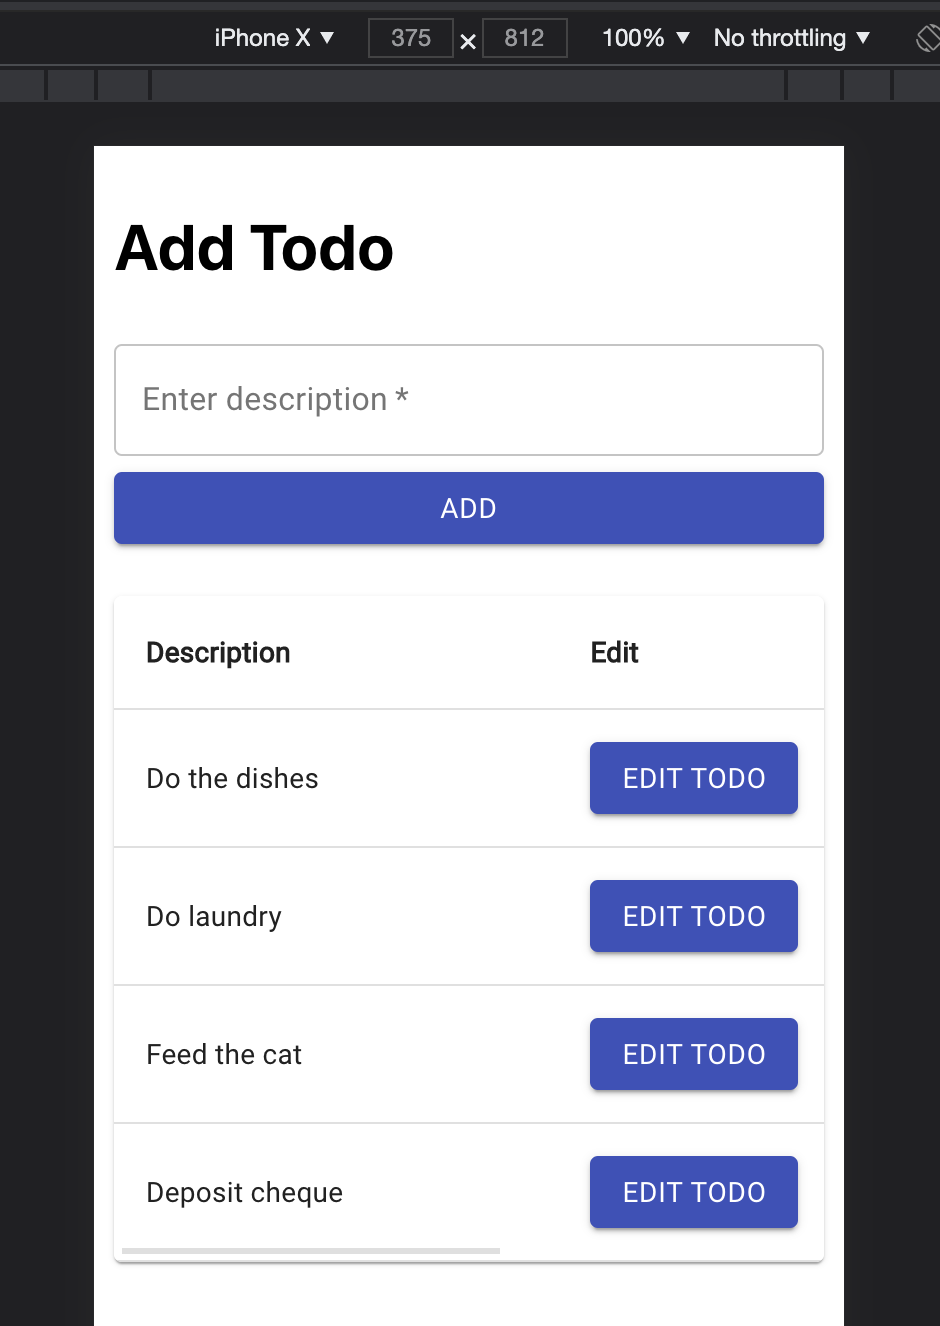
For the client, I set up Material-UI by simply following their documentation. I then built the first 2 components:
- InputTodo - add a new todo
- ListTodos - table to display all todos
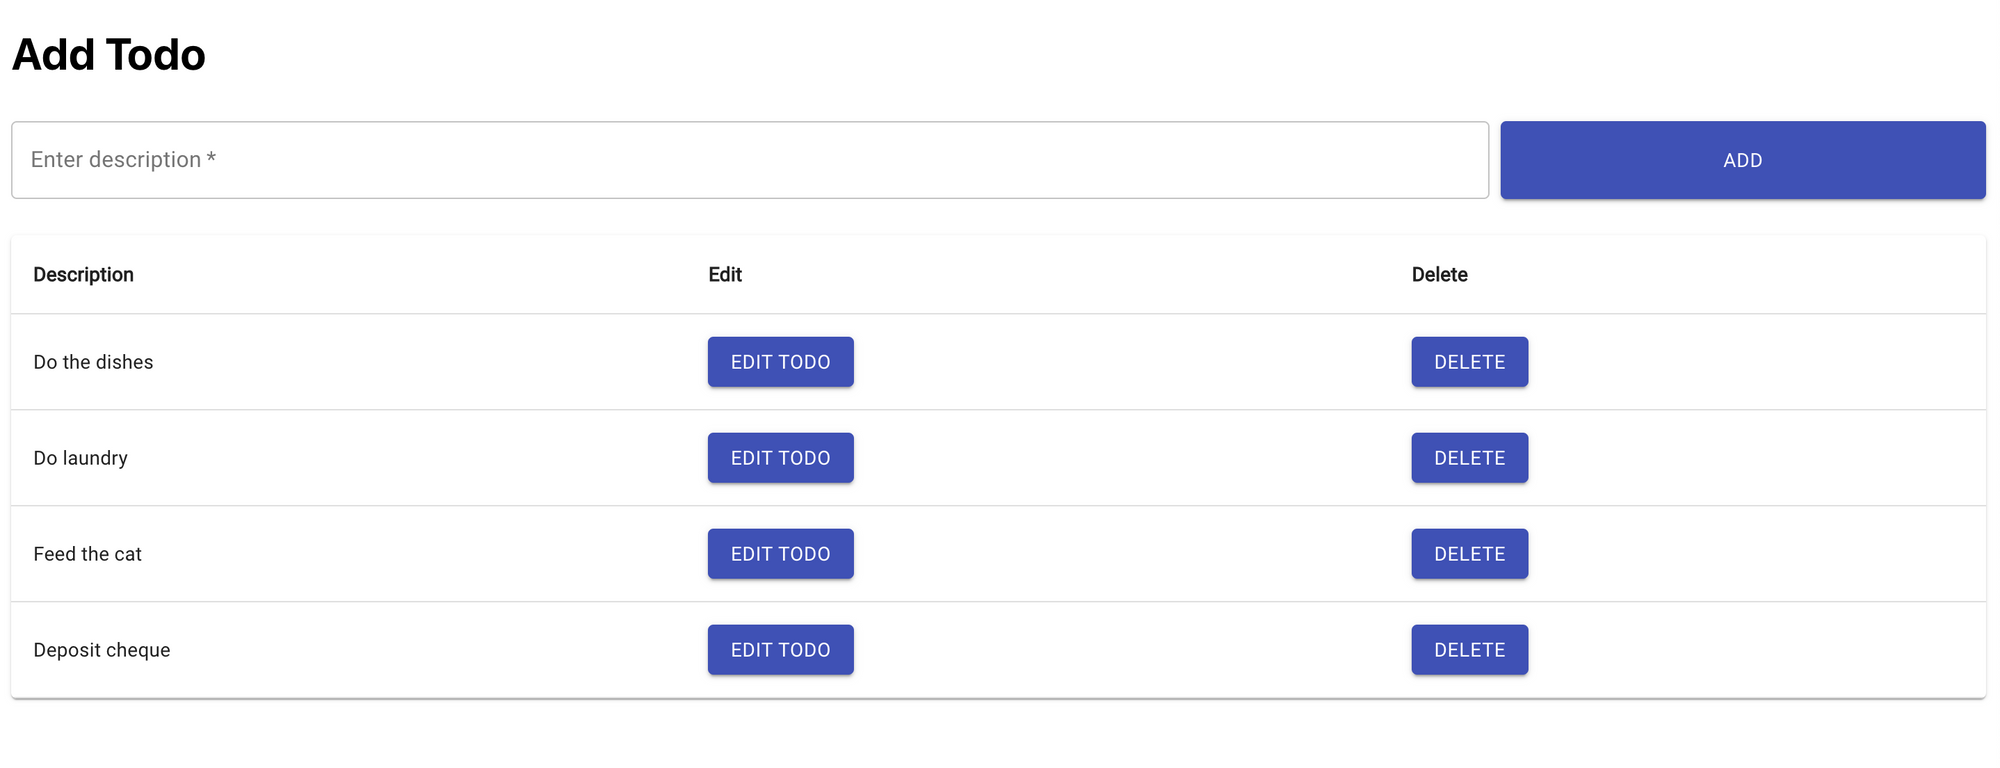
In mobile view, the button and input were being cut off and the table spacing wasn't correct.
I went through the Material-UI documentation on layouts and opted to use the Grid layout. With a Grid, I set the input and "Add" button on the same line in "md" breakpoint and separate lines in "xs" breakpoint. For the table, I just placed it within the top-level grid container.
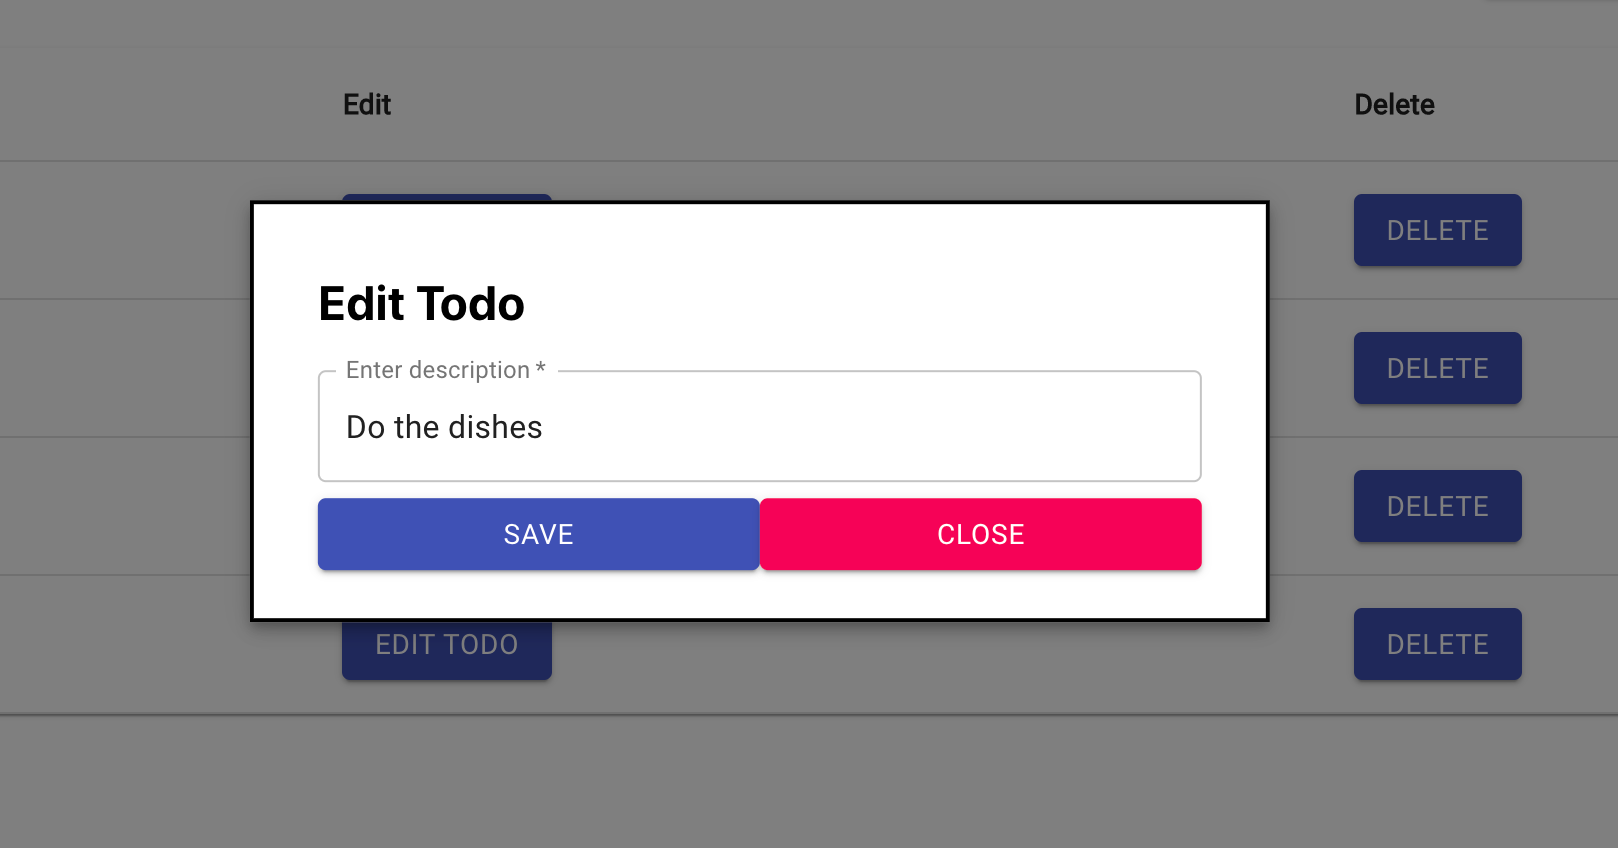
For the 3rd component, EditTodo, I debated between using a new page and implementing React Router or following the video as-is and implementing a modal dialog. Since I already had experience with React Router, I chose the modal dialog for learning purposes.
The modal proved to be a little challenging. I ran into an issue where clicking Edit Todo for any row always displayed the modal for the last todo. With more investigation through the browser developer tools, I noticed React was showing all modals for all rows at the same time. The last modal was just on top of all the other ones. A bit of StackOverflow searching and this thread suggested creating only 1 modal and tracking which modal is currently open. Job done. Here is what the modal looks like on desktop.
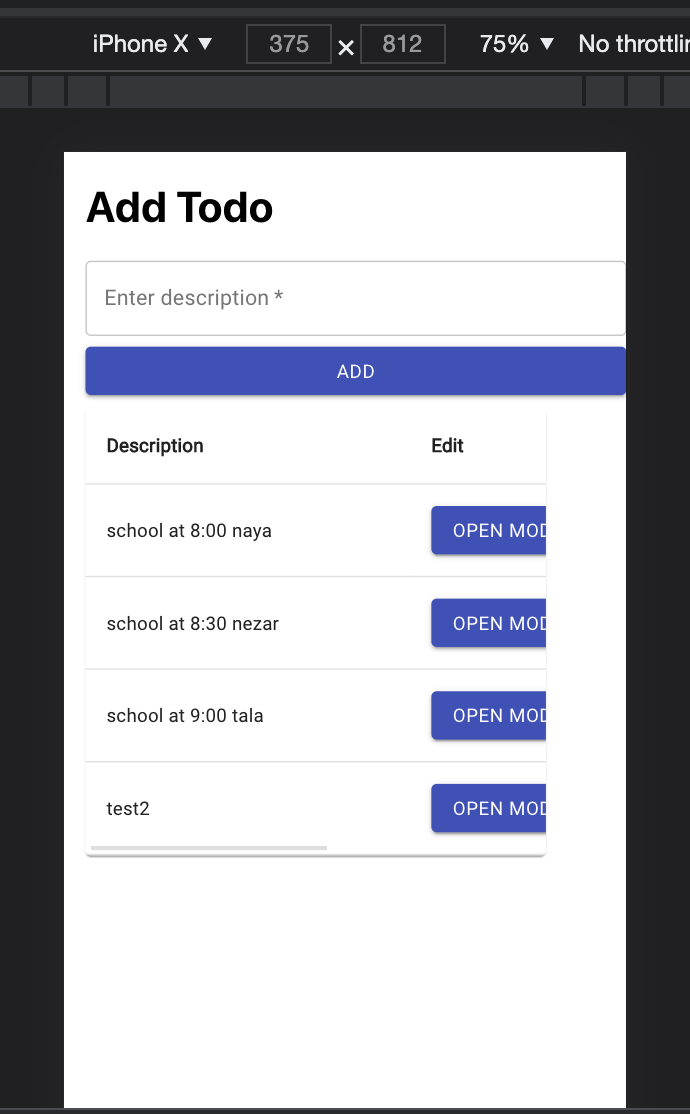
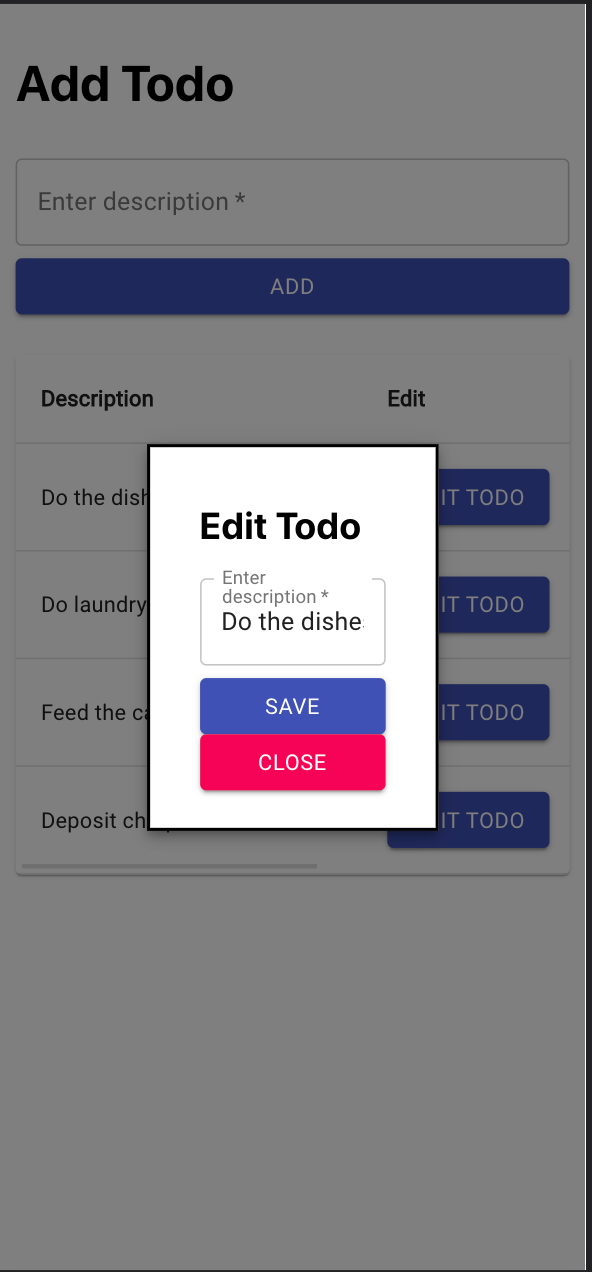
For mobile, I faced a responsiveness issue where it wasn't resizing to fit the screen and was getting cut off. That was by default from the Material-UI code I copied. So I removed a width property in the useStyles.paper css and that helped. Not perfect, but definitely better than being mostly cut-off. Here's what it looks like after the fix:
Code cleanup and formatting
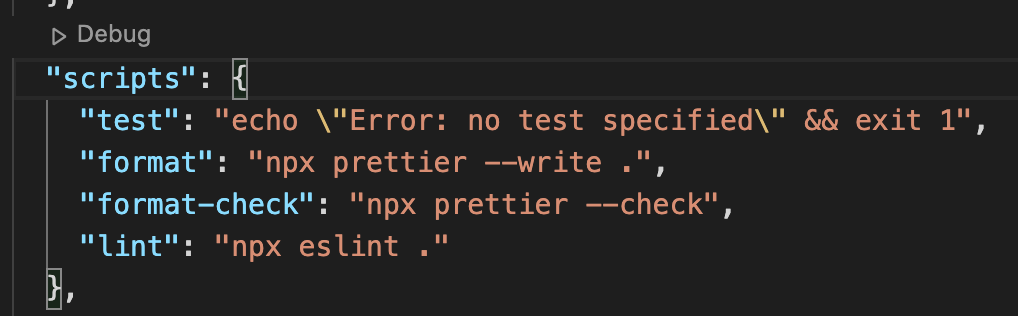
I wanted to follow software engineering best practices and implement a linter and code formatter. ESLint and Prettier are very popular for these tasks and play nicely together. I installed Prettier and ESLint following their guides and ran both tools. I fixed all issues accordingly and set up VSCode to automatically run Prettier on save. Finally, I added commands in my package.json to easily run both. It's useful within CI/CD as well.
I also added dotenv to the server so I can parameterize the database connection details. For the client, I added react-dotenv to parameterize the API URL. This is useful if I were to deploy the application to different environments.
Upcoming improvements
There are still some things I'd like to do for this practice project:
- Cover unhappy paths such as an API call failing or not allowing empty descriptions
- Add unit tests to both the client and server code
- Add an accounts/users feature
Stay tuned for upcoming posts on these. For now, I hope you enjoyed my journey and found inspiration to start your own.